Wednesday, January 23, 2013

Operation Sazabi F.R.E.E.D.O.M

Well hello there! I felt like making a post about what was going on in my gunpla journey so here it is.

I was originally working on the HG Banshee Destroy Mode, I was about to panel line it when I ran into a problem, enamel eats acrylic. I thought I put on a good enough gloss coat where the enamel wouldn't eat the acrylic but unfortunately i was wrong and had a little bit of paint in the chest armor rub off. Luckily its an easy fix. I looked around for some Future but couldn't find any, I'm going to check home depot on Friday to see if they carry it. If they don't have it then I'm sure Target will. So In the mean time I decided to start building my HGUC Sazabi! I received this in the Reddit Gunpla gift exchange from fellow redditor and gunpla connoisseur, Crossbone013. Thank you again!

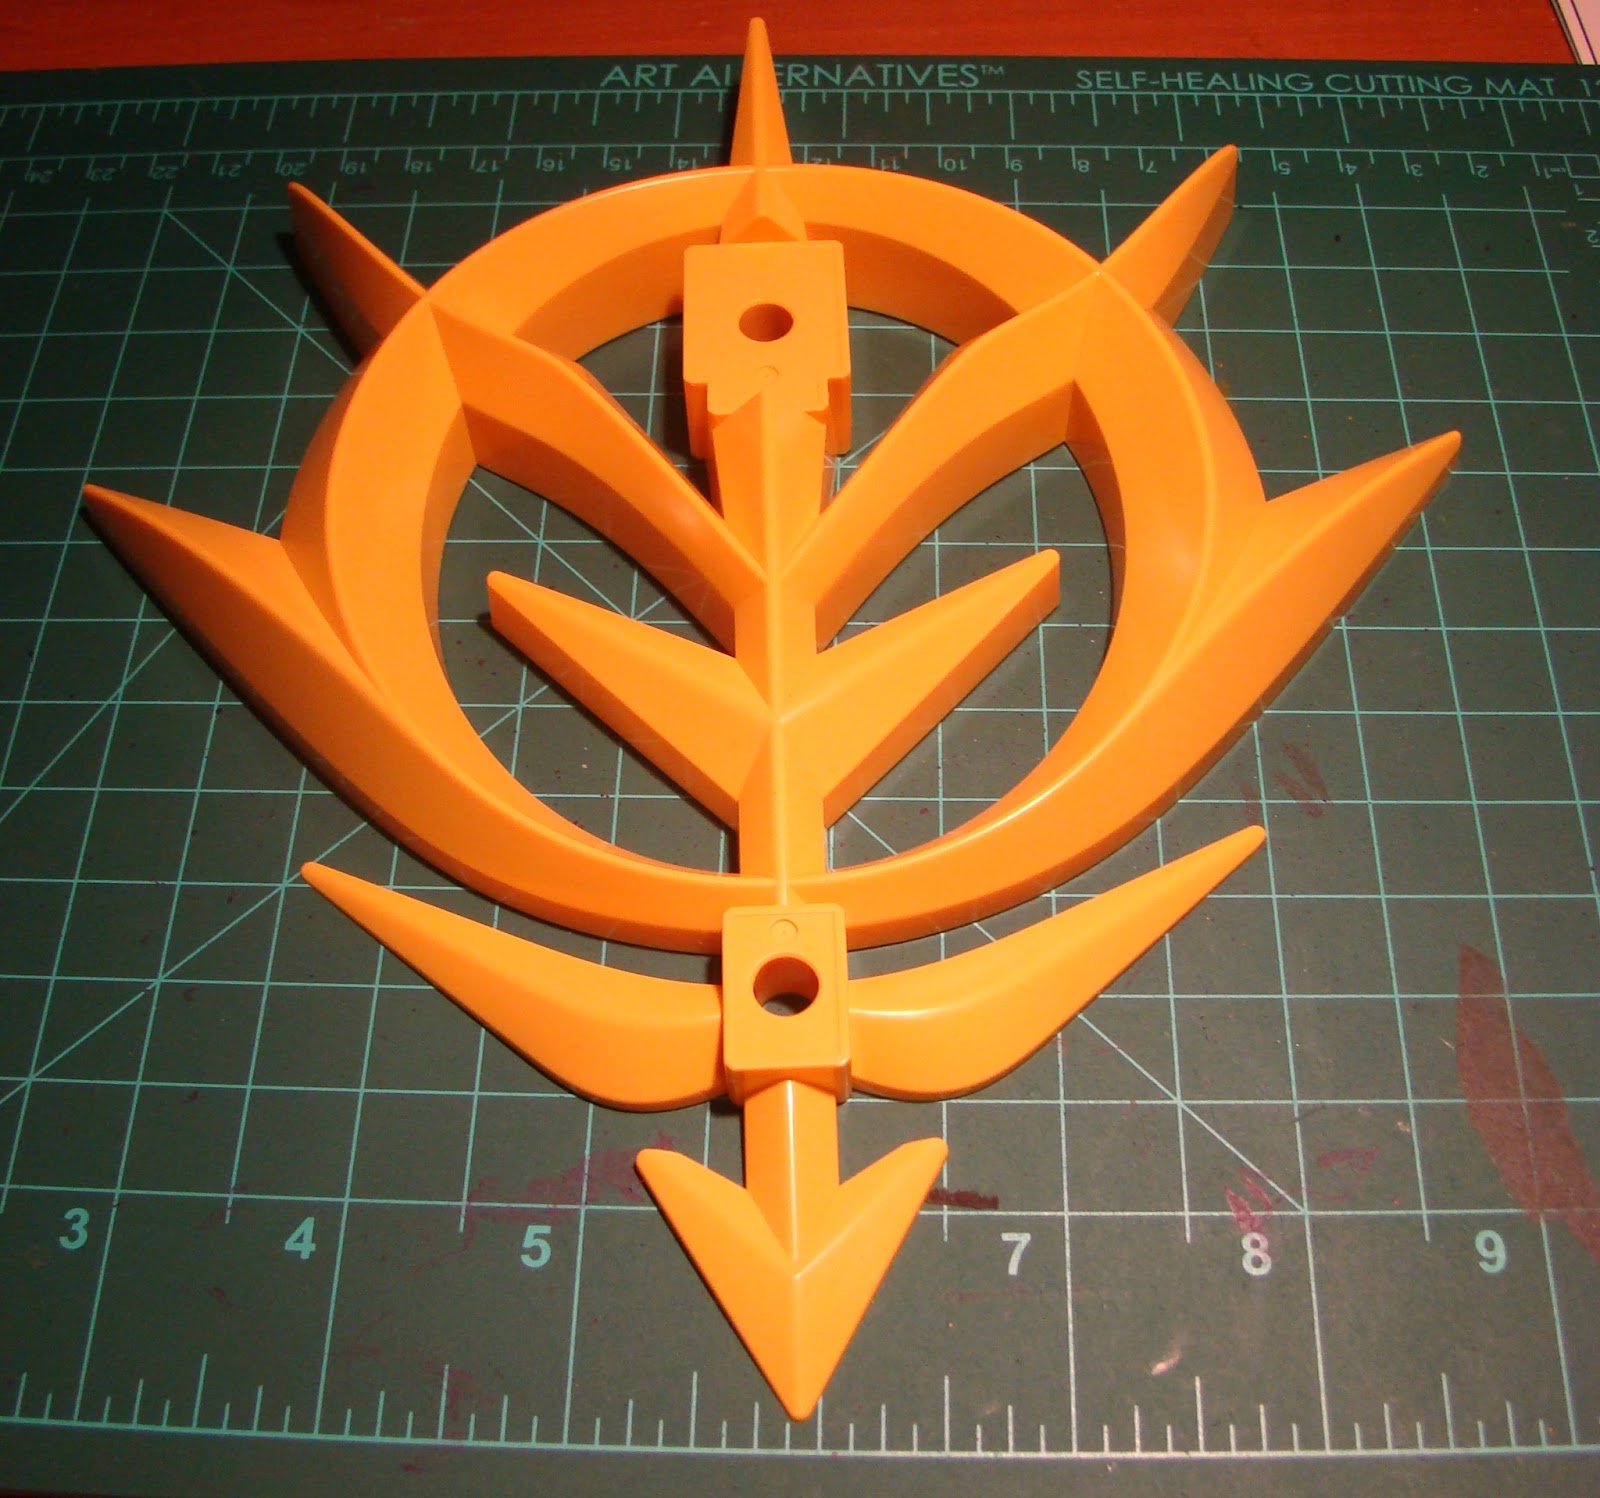
I was very excited to start building this kit and it was HEAPS of fun! It's a pretty straight forward build, but my god this thing is massive! The shield alone is almost the height of my HG Banshee. It's currently sitting pretty on it's Federation of Zeon base that I pictured in my last post. I'm waiting to fully finish up my Banshee before starting this guy. Also I don't have as much time now that school started :(

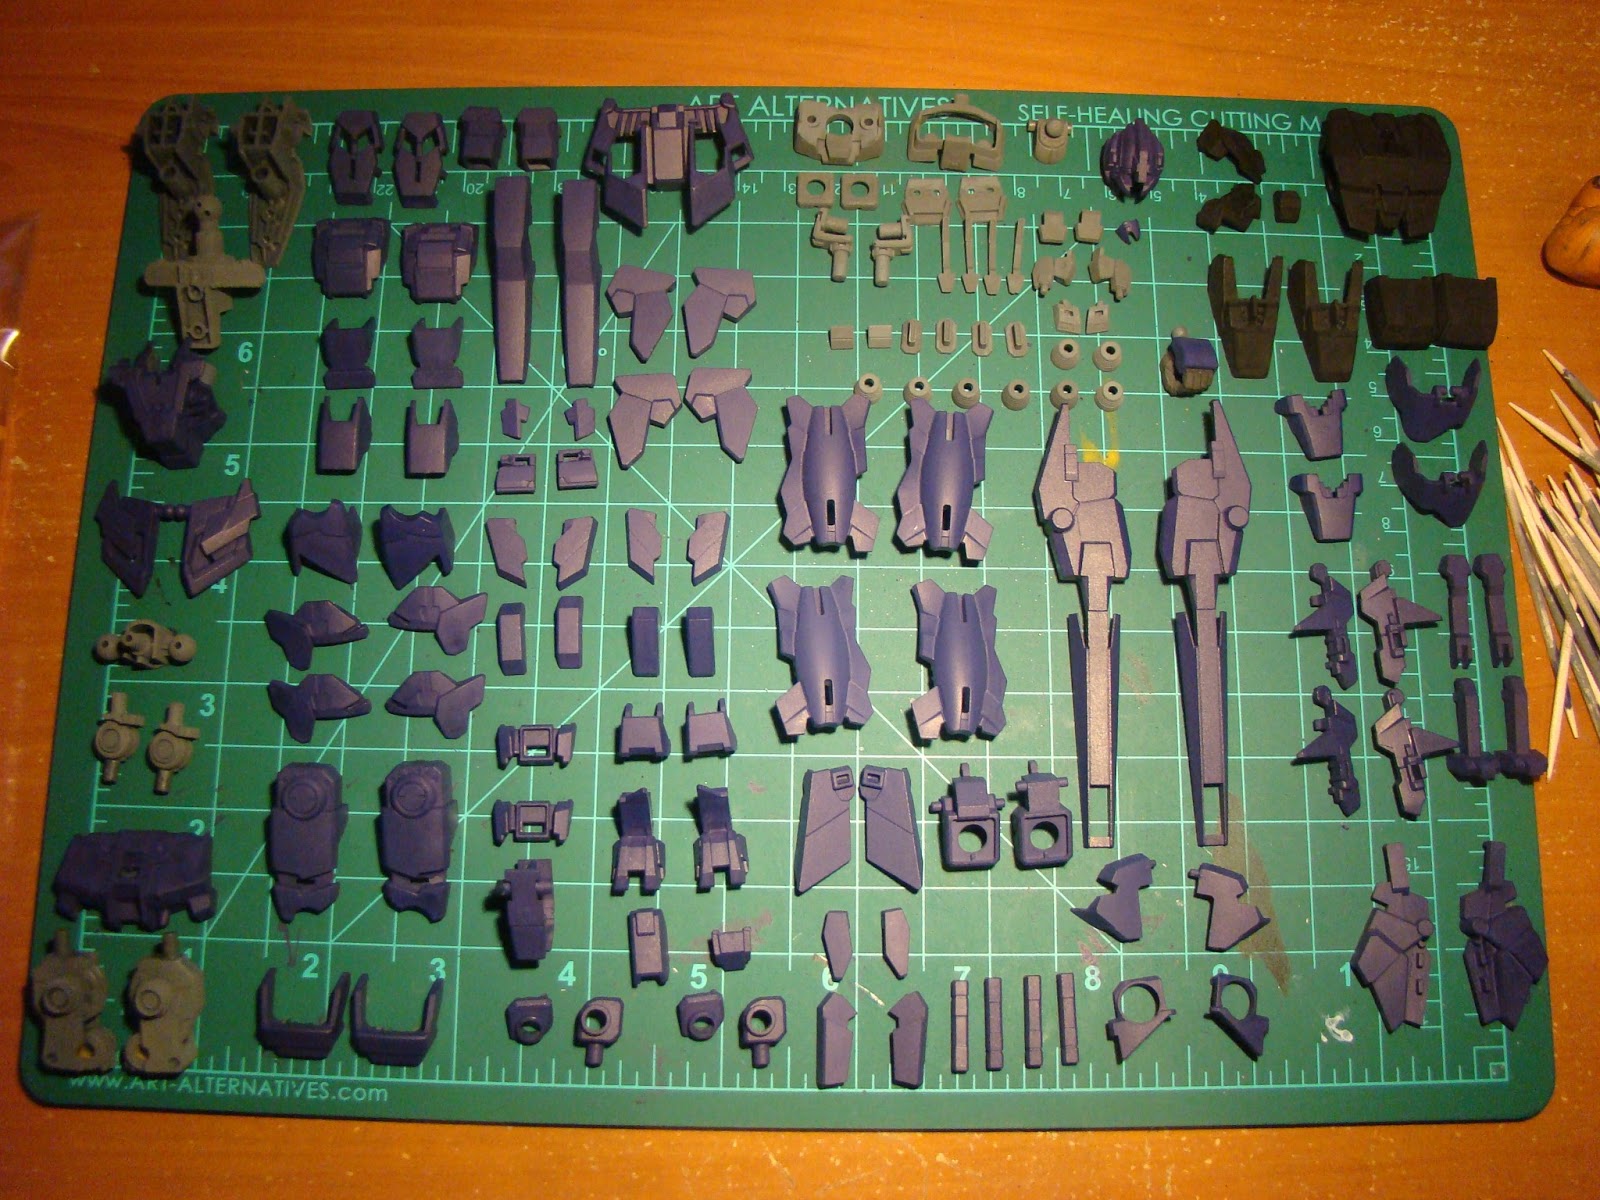
Well anyway, here's some straight out of the box pictures:


Pretty awesome looking right? As you can see in the first picture there should be little yellow pieces in the shoulder armor, I haven't put those in yet because they seem like they would be impossible to remove. I plan on giving the entire red armor a chrome cover with a few coats of Tamiya clear red to make the armor look metallic and nice. Hopefully I don't mess up and it looks nice >.< 
All the yellow pieces will be painted Model Master Acrylic Gold. The black is going to be a flat black. I want to make the little pods on the back pack (I forgot that they are called) shooting out, but I don't know how to make them "float" around the Sazabi. Do you guys have any idea? I'd love to hear them! 
Also, I bought Bandai Decals for this! It will be my first time decaling a kit and I'm very excited for it! All in all I'm going to put my heart and soul into this kit and I really hope it turns out how I imagine it.

Well, as always thank you for reading and I appreciate you taking your time to listen to my ramblings! Have a great one everyone and see you soon.

Friday, January 18, 2013

Monday, January 14, 2013

02 WIP HG Banshee Destroy Mode.

OHMYGOSHOHMYGOSHOHMYGOSHOHMYGOSH I FINISHED PAINTING MY FIRST KIT!!! And it was hand painted no less! Holy moley was this a long and tedious process but it was fun and tranquil actually! I learned a lot from this journey, for example, i dont have to put every little piece on a toothpick attached by blue tac, i can just lay it down in a box and prime it! Oh man...this is exciting, anyway onto painting.

As i mentioned before this was my first painted kit and I think it turned out fantastic, way better then what I was expecting. I am super proud of this kit! And I still have to panel line it and add a nice Matte topcoat. When I started out painting this I don't think i watered my first layer down enough, it was like a creamy soup consistency, i was aiming for a more milky watery consistency, good to know for next time! I realized my brush can hold a lot of paint early on, but didnt figure out how to deal with it until the very end, so now I won't be spending so long on one piece trying to get an even coverage everywhere.

After much self-deliberation I decided to not paint the psycho-frame, and I'm glade I didn't. The original color of the plastic is really nice and I didn't have access to a clear gold color. Also, black is super hard to paint smoothly for some reason, anyone know whats up with that? Well, here's some WIP pics of the bad boy himself, I will also mention the paint and brush I used for anyone interest.

Paints used:
Vallejo Royal Purple 100%
Vallejo/Tamiya Flat Black 100%
Tamiya Dark Grey 100%

Didn't decide to mix any colors my first run...

Brush:
Rhapsody Size 4 Round
Each piece was hand painted. Approx. 12 Hours.


CROTCH-SHOT!

Spooky.


Comments? Questions? Critiques? Post below :)

Sunday, January 6, 2013

01 WIP HG Banshee Destroy Mode.

Hello! Welcome to my first official post on my blog, something actually about gunpla! Today we will be looking at the HG Banshee Unicorn Destroy mode and I am going to talk about what I want to do with it, so with out further adieu, here's the bad boy himself:


I REALLY like  the look of this kit, i  think it looks very menacing just standing there. Very sexy. Can't wait to start posing him. While I did have some trouble building him with the psycho-frame, it was a lot of fun to put this bad boy together. So you're probably wondering why I'm showing you this unpainted, untopcoated, bare minimum kit and the reason is because this will be my first kit that I am actually going to paint. The only problem is, I have no idea how I'm going to hand paint this sucker. Halfway through the build I realized that the psycho-frame is going to get in the way of the main armors paint. I could mask it off but I've been told never to do that when it come to hand painting as the paint will leave behind a noticeable line once it dries, and no one wants that. Another method I thought of doing was to take off the psycho-frame and put together the main armor with out the psycho-frame, but after building the whole thing it seems that some pieces need the psycho-frame.

So what is a man to do? Honestly I don't know. I have some ideas floating around, one of them being to not even paint the frame and just mask it off during priming, I like the color of the bare plastic, but I'm worried that it'll be very noticeable. Another option I considered was to mix my Gold-Yellow with my Silver so try and get it to be a shiny-er yellow, but I'm not too sure if it works the way i think it works. Going to have to test it on a spoon. If you guys have any ides on what I should do, I would be more than happy to hear them!

On to the paints I will be using. I decided to use Vallejo acrylic paints. These were highly recommended by people who hand paint, so I thought might as well. Not pictured is the Air Chrome, but thats for another project anyway. Here is a picture of the colors I will be using, and an explanation following:

Pretty sweet colors right? 

Royal Purple:
I planned on giving the main armor a nice Royal Purple, but upon further exception I noticed the royal purple color was a bit too bright for my taste so I might mix it was a wee bit of black to get it darker, this is purely by sight I have yet to actually use it on a spoon, so it might look good in the end.

Black:
This wont be really used all that much on this kit, I'll most likely use it on the feet and any areas that need to be darkened, such as the inside of the thrusters. Might use it on the backpack too.

Gunmetal Metal:
This will be used mainly for the thrusters and joints, again not much of it will be used.

Gold-Yellow:
This color here, it'll be used for the psycho-frame. If it looks good on a spoon. I'm going to have to play around with this color a bit.

Silver and Bloody Red:
These two may not even be used. If anything the bloody red will be used as a panel lining on the psycho-armor, I may disregard this idea and use the ink from a gundam marker. We'll see. The silver might be used for detailed work, once I take a closer look at this kit and fully examine it, then I'll know.

The primers I'll be using, never used them before but I have the gloss coat from the Krylon brand it it works just fine. White will be used for the psycho armor, gray for everything else.


Now you're probably wondering what is this picture for, well basically this kit came with a bunch of extra pieces and I have no idea what they are for. I looked all through the manual and couldn't find any trace of them, not even the pictures had them. If you know what they are, please let me know. I'm really interested in the yellow X looking thing.

Well, that's it for now folks! I'll be updating sometime next week, I'm still waiting for my awesome size 4 brush I got on sale about a week ago, should come in Tuesday according to the UPS tracking. Anyway, thanks for reading and hopefully I'll see yall next week!

Thursday, January 3, 2013

Pilot Post

Hello there my fellow aficionados of Gunpla and all things Gundam! I am Nayiro, or more formally Mr. Nayiro. This will be my gunpla blog where I will be talking about my thoughts on gunpla and the Gundam universe, give up dates on current kits I am building and show off my progress on my kits as a slowly become a better modeler.

I will try and keep this blog updated at least once a week, regardless if the only person reading this is my mother, I will keep it updated to the best of my abilities. I am new at this whole blogging deal so it might take me a while to get my bearings. I'm going to try and get a nice layout for this site, but don't expect anything too soon, I ain't magic!

I guess I'll tell you guys a little bit about me. I am currently 21 years of age and live in California. I have been making gunpla (building gunpla? I dunno...) Since July 2012 where i acquired my very first kit, the RG RX-78-2. I had no idea what I was getting my self into bu t I am very glad I decided to pick up a kit! I have completed a few kits in the very short time I've been in this hobby, so why am I just now starting a blog? I would have to say probably because I am getting more serious about it as a hobby and also I am going to start painting my kits and would like to share my projects with anyone interested.

Well anyway, my first kit that will be up here is going to be the HG RX-0 Unicorn Gundam 02 Banshee. I'm looking forward to making this blog a significant part of my life and I hope it brings enjoyment to anyone reading it. Thank you and lets have a good time!